Shapes
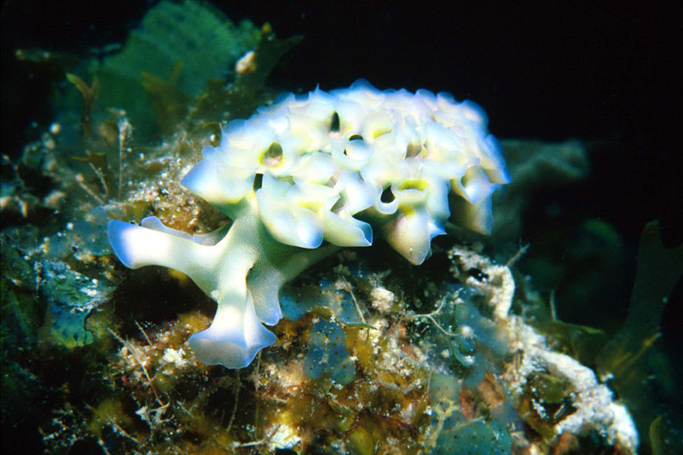
In the digital world of photography, this is a slightly easier task. What you see on that LCD screen is what you get. Now you need to focus on what it is you are seeing. Every cluster of coral, every fish, every shadow and the background have there own shapes and these all fit together like pieces of a puzzle to form your complete image. The color intensity, highlights and such now come into play. Is there a balance that is pleasing to the eye? Is one area overloaded with color or shadow leaving the other large area depleted? Does the picture look out of balance? In the “heat of battle” you certainly don’t have the time to ask yourself all these questions. But playing around with photo composition topside makes for better framing under water. Practice makes perfect. You are not wasting film with digital. You don’t like what you see…delete! In the world of film, I used Nikonis lll’s. No screens to look at. The viewfinder is maybe 1/2″ wide. So you attached another viewfinder on top of the camera. Unless your line-of-sight was directly behind the framer, what you saw was NOT always what you got. You learned that the hard way. Film and processing was/is not cheap. You may wonder, “why even use that camera?” I became proficient on it and never saw the need to change. What’s that old saying…”you don’t fix what isn’t broken.”
Subject Matter
Now your focus is on what you are shooting. Is the subject on the same plane/level as the camera? Are you shooting down? Are you shooting up? Is it centered? Is it swimming away from me? Is it looking at me? Am I seeing a profile? Shooting down at your subject is usually a bad idea. The best pictures are at the level or shooting slightly up at it. You do not always have to center your subject. 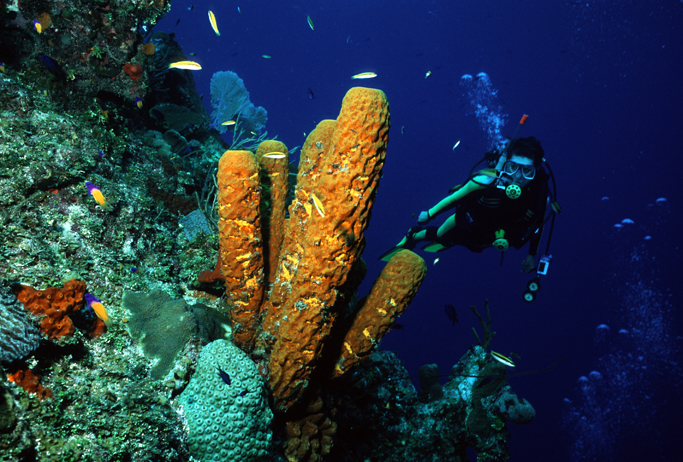 Example: Your subject is swimming into your frame from the right. On the left is a beautiful coral head , or in this case, yellow tube sponges. You now have a nicely composed image of your subject having entered your frame completely (don’t crop them out) approaching a very appealing background. Try to get complete flash coverage if that is what’s desired or focus the flash on the subject so it separates from the background. Why the separation…so your subject doesn’t get lost in the colorful background. Try to get profiles or have the subject looking at the camera. A fish swimming away is not as desirable as one looking at you. There is that rare instance where the fish is a very thin subject and creates nothing more than a vertical line in your photo.
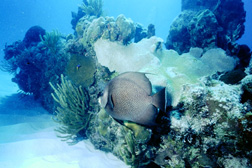 Butterfly and angelfish fall into this category. It’s when they are at a slight angle looking at the camera that they usually make for fantastic composition.
Be Aware of Lighting
I had a strobe with a modeling light built in so I always knew where that flash was going to hit. Proper lighting can enhance the composition. You can cast dramatic shadows that enhance those shapes. You can light the entire reef if desired. When shooting with a wide-angle fisheye lense, you want the natural ambient light to account for the majority of the image while the strobe lights up the point of interest. The sun coming in from the surface can backlight a diver or large fish adding affects which add a professional quality to your photos. Look for future blogs on shooting wide-angle.
Distances Create Challenges
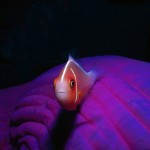
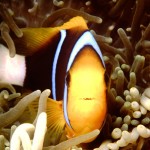
The farther away your subject is, the more it blends into the abyss. Let that strobe fire for that flash-fill or that reflection which can help separate the subject from the background. Especially in open water. When shooting macro, the lense can be as close as 1″ from the animal, thus creating an unwilling subject. No critter likes a camera in their face, then you pop off that blinding flash! Whoa!!! I have had good fortune shooting clownfish in anemones. They get protective of their home and often come right at the camera. If you are ready with the finger on the shutter, you can get some good pictures. 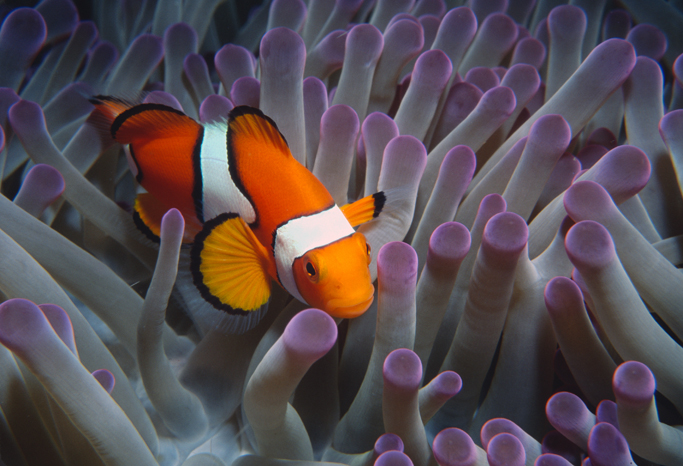 It is good to study your potential subjects. Small subjects, no problem. The big guys, like moray eels, if they come out after that camera, it’s time to bail. Study the subject before you approach it. Use good common sense and always error on the side of safety.
Practice!
The old saying…”practice makes perfect” applies here. The more you shoot, above and underwater and are aware of your composition, the better you get at it. When you can look at the LCD image on the back of the camera and recognize good composition and balance in the blink of an eye, the majority of your photos are going to be “keepers” . When you get a great picture, analyze it. Look it over closely. Study it. What did I do that was right? It’s as important to know what you did right as it is when you make mistakes. Mistakes are okay as long as you know what you did wrong and learn from it. You want good history to repeat itself. Bad history…NOT!!! Good Shooting!!!


